The Making of Gouf R35 by Putra Shining.
The Making of HGBF 1/144 GOUF R35 from Gundam Model Kit Contest 2015 Malaysia by Putra Shining.
We Putaro Gunpla present to you, one of the participants from Gundam Model Kit Contest 2015 Malaysia.
"Why The New Red? Because usually red is the most dominating colour and red are famous in Gundam series such as The Red Comet, Char's mobile suit, Sinanju and etc. Now my new Gouf R35 has arrived to take the new title as The New Red. This time, my Gouf can berserk! It also can fight hand to hand combat, swords, long range and it has anti-aircraft machine gun on it's back."
"This is my first time entering The Gundam Model Kit Contest 2015 Malaysia, so i decided to build something that from Gundam Build Fighters Try series. The mission is to build a custom gunpla with the minimum modification with the cheapest cost, i want to see what it looks like with low cost custom building. Using my experience as Fine Artist and Designer, i tried to make something easy to build so this project is an experiment and research to me. The reason i entered the contest is to exhibit my artwork besides gaining new experience. So, i have some picture for you guys, it's from my research and i hope it can help you guys especially for who that has problem with getting the right product or tools to build custom gunpla. The result for me, it's pretty cool. So let's begin, and thanks for viewing our Putaro Gunpla"
Let's begin with tools and product that i used:
01- Gundam Marker- Silver
02- Super Glue03- Soft pastel
04- Brush
05- Drawing pen
06- Cutter
07- Polystyrene
08- Spray paint- Black
09- Plaster of paris
10- A bowl of water
11- A plastic spoon
12- Graphic marker- dark grey
13- Glue
14- Emulsion paint
 |
| The first thing after build the Gouf, i try put the modification parts (not glue yet), try to see from every angle. |
 |
| The next thing, i started to make some effect on the kit by using silver colour gundam marker. |
 |
| Now the kit looks a bit old, and i also paneling the kit. |
 |
| Not to forget the other parts, weapons and i add some "burned" effect on the weapons by using graphic marker. |
 |
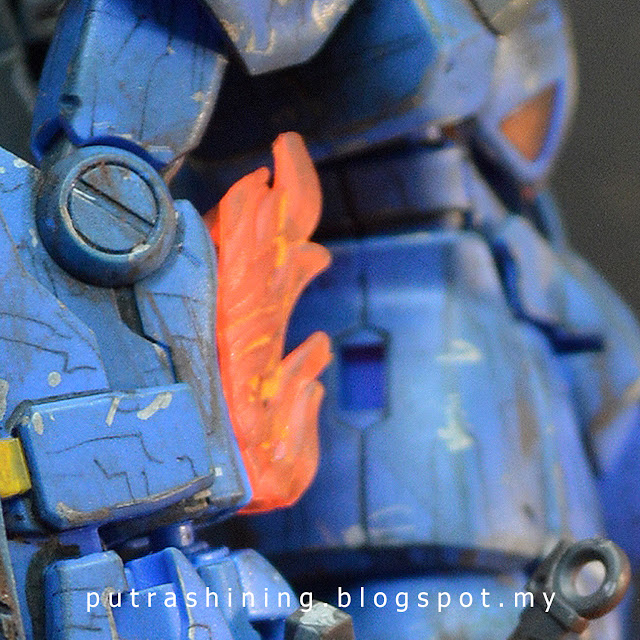
| The next thing, i make some scratches on the kit and glue up the parts. The flame that used is from the HGBF Try Burning Gundam. |
 |
| Next, spray it with Clear-matt spray paint. |
 |
| Now it's time for the "mini diorama". Using the polystyrene to make simple shape and started to glue the base. |
 |
| Then, i prepare the Plaster of paris with ratio 2:3 with cold water and make the shape using a plastic spoon. |
 |
| This is looks like, be careful it's really easy to break and i primed with emulsion paint. |


